搭建qemu gdb调试kernel的环境
文章目录
1. 内核的编译
1.1 下载内核
1 | curl https://mirrors.edge.kernel.org/pub/linux/kernel/v3.x/linux-3.14.69.tar.gz -o linux-3.14.69.tar.gz |
1.2 编译选项
make menuconfig
这里需要开启内核参数CONFIG_DEBUG_INFO。
1.3 编译内核
1 | make -j8 |
解释下两个文件:
- linux-3.14.69/arch/x86/boot/bzImage :是一个压缩的,可以bootable的Linux kernel文件
- linux-3.14.69/vmlinux:一个非压缩的,不可以bootable的Linux kernel文件。是用来生成bzImage的中间文件。debug时需要用到该文件。
2. 构建initrd文件
启动系统的时候需要指定bzImage与initrd(init ram disk)文件。本节我们将介绍怎么把BusyBox打包成initrd文件。
2.1 准备
统一下目录,把环境变量TOP设置为这个目录1
2TOP=/home/ljm/qemu-kernel
cd $TOP
2.2 下载和解压BusyBox
1 | curl https://busybox.net/downloads/busybox-1.27.2.tar.bz2 -o busybox-1.27.2.tar.bz2 |
2.3 configure busybox
1 | cd $TOP/busybox-1.27.2 |
type /, search for “static”. You’ll see that the option is located at:1
2
3-> Busybox Settings
-> Build Options
[ ] Build BusyBox as a static binary (no shared libs)
选择yes。
2.4 build busybox
1 | cd ../obj/busybox-x86 |
2.5 build the directory structure for our initramfs
1 | mkdir -pv $TOP/initramfs/x86-busybox |
vim init
填入如下内容:1
2
3
4
5!/bin/sh
mount -t proc none /proc
mount -t sysfs none /sys
echo -e "\nBoot took $(cut -d' ' -f1 /proc/uptime) seconds\n"
exec /bin/sh
1 | chmod +x init |
We now have a minimal userland in $TOP/obj/initramfs-busybox-x86.cpio.gz that we can pass to qemu as an initrd (using the -initrd option).
3. 利用gdb调试内核
3.1 qemu主要选项解释
- kernel bzImage: Use bzImage as kernel image. The kernel can be either a Linux kernel or in multiboot format. // 指定可以bootable的内核压缩文件
- initrd file: use ‘file’ as initial ram disk // 指定initramdisk
- append cmdline: use ‘cmdline’ as kernel command line // 指定kernel cmdline
- S: Do not start CPU at startup (you must type ‘c’ in the monitor). // 用于调试代码
- s: Shorthand for -gdb tcp::1234, i.e. open a gdbserver on TCP port 1234. // 开启一个gdbserver, 可以通过TCP端口1234连接
- nographic: 默认qemu使用图形方式,该选项可以启用非图形方式
3.2 启动
1 | qemu-system-x86_64 -kernel linux-3.14.69/arch/x86/boot/bzImage -initrd initramfs-busybox-x86.cpio.gz -s -S -append "console=ttyS0" -nographic |
在本机另一个terminal利用gdb连接本地的gdbserver 1234端口1
2
3
4
5gdb
file linux-3.14.69/vmlinux //load Linux符号表
target remote:1234 //远程连接监听在TCP 1234的gdb server
b start_kernel //在start_kernel函数设置断点
c //continue,继续执行代码
启动后console打印启动信息,随后进入init程序指定的shell中: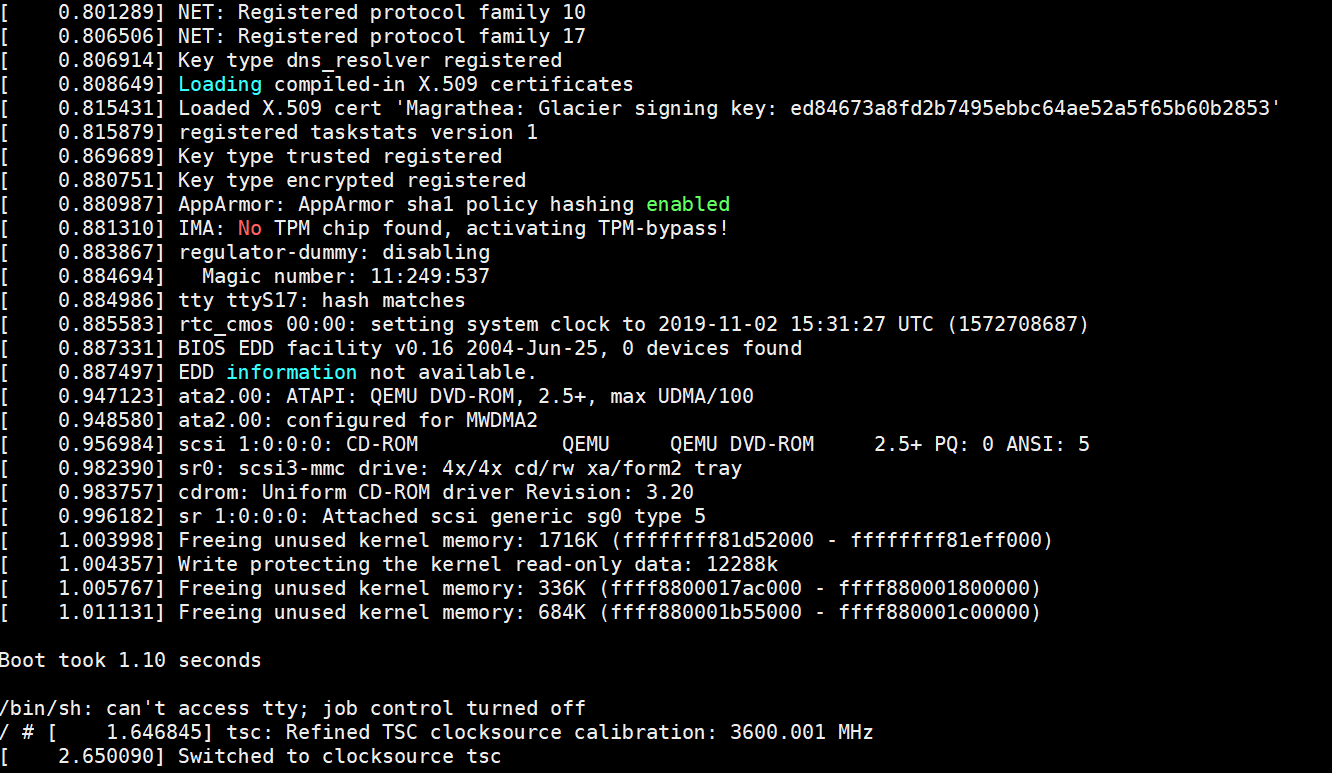
参考资料: